By: Theresa Airey
Handcoloring is a great way to put the "unique hand of the artist" back into an otherwise digitally automated inkjet print. Freestyle Advisory Board Member, Theresa Airey discusses her favorite papers to hand color on:
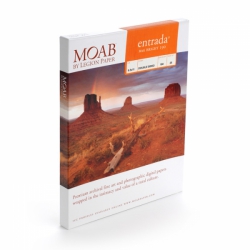
Moab Entrada Rag Bright White has a smooth, toothy feel similar to a traditional hot press watercolor paper and it's made in the USA of 100% cotton that is acid free and lignin free. The bright white surface renders vivid color and exceptional details in the print and because of its pure white bright surface, it is an outstanding paper for printing B&W images. I print all my Infrared straight B&W images on this paper as the paper renders the image with deep rich blacks and bright whites and great details.
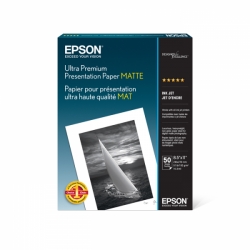
Epson Enhanced Matte Paper has a tougher finished than the other Epson papers and you can use Marshall Oil pencils on its surface without leaving too much of a shiny surface behind. But removing the color once laid down is impossible. When you try to pull it out the Marshall Oil coloring with a kneaded eraser, the surface breaks down and lifts. Blending is the same....rub too hard and you lift the surface. So if you want intense color or full color in small areas, they work fine. Apply gently, blend gently, and remove gently...the operative word is gentle.
As beginners tend to be heavy handed when first learning to color, I would advise getting a sized watercolor paper (non inkjet coated paper) to begin with and then move into using the Epson Enhanced Matte. As watercolor papers are sized for "re-working", their surface is tougher and harder than an inkjet surface. They can remove color easily and lay down a new color without the worry of "lifting" the surface.
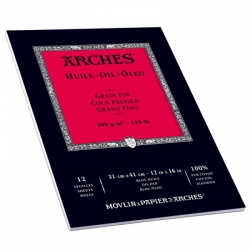
Both Arches' Bright White Watercolor paper and Fabriano's Classico 5 watercolor papers work very well in inkjet printers and give you a great print. You should buy the l40lbs, Hot Pressed Watercolor paper.
The original print will be muted in color if compared to an inkjet print, but if you jack up the saturation and contrast, you will come close to the inkjet version. In any case, if they are to hand color the image, this will not matter. It is a far cheaper way to go, especially for beginners.