Throughout this guide we recommend Arista® brand equipment. The Arista® family of darkroom products, including Arista Premium, Arista Private Reserve and Arista EDU Ultra have been setting the standard for quality and value for over half a century and is widely seen as the industry's darkroom leader.
Depending on the enlarger you purchase, you may need to get a 35mm negative carrier and 50mm enlarging lens (with a lens board and jam nut) separately. If you have any questions about this, please feel free to call one of our friendly sales representatives for assistance.
Some enlargers can handle both 35mm and medium format negatives, although you will need a different negative carrier and lens to accommodate this. There are also enlargers that can handle 4x5, medium format, and 35mm film. If you plan to print with 4x5 negatives in the future, you should purchase an enlarger that can accommodate them. Otherwise, a 35mm/medium format enlarger will suit your purposes just fine.
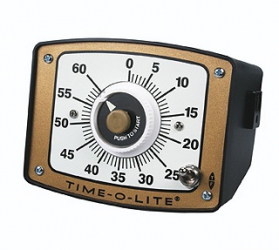
In order to get prints which are correctly exposed, you need to control the amount of light that reaches your paper. The timer, along with the aperture on your enlarger lens, controls the exposure so that your prints are neither too light nor too dark. Timers can either be stand-alone, requiring you to turn off the enlarger manually, or they can connect to the enlarger for automatic shut-off. We recommend a timer that automatically turns the enlarger on and off.
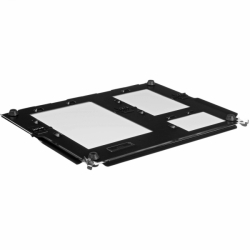
The easel is used to hold the photographic printing paper while you are exposing it. The paper holders on the easel are used to correctly position the unexposed paper and hold it flat during the exposure. There are quick easels in a singe set format like 8x10 or 5x7, and there are bladed easels that allow you to choose your own format.
You might also consider buying a contact printing frame, which has a Plexiglas top to hold your negatives flush on the paper for contact printing.
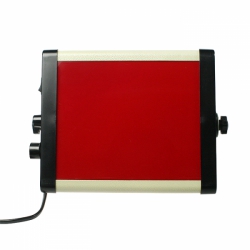
Safelight filters come in a few different varieties. The most commonly used are OC (amber) and Red (A1). Always check the manufacturer's instruction sheet to determine the appropriate type of safelight for your particular paper.
Red (1A) safelight filters are typically used for orthochromatic materials like litho film, certain liquid emulsions and some B&W photo papers. Never mix OC and red safelights in the darkroom -- even if a paper can be used with either safelight, the combination will usually cause fogging.
The safelight should be positioned to provide the best illumination of the work area, but should be kept at least four feet from the photographic paper. See our How Safe is Your Safelight? article for more tips on safelight set-up.
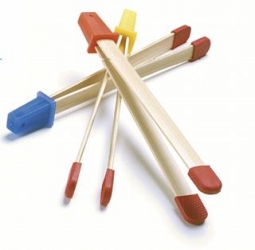
These are used for moving the photographic paper through the processing solutions. You should have a set of four: one for developer, one for stop bath, one for fixer, and one for the final rinse. Label each one to avoid contaminating the chemicals.
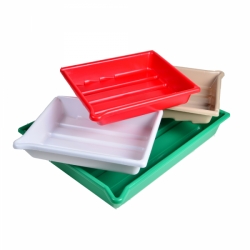
The trays hold the processing solutions. The first tray is for the developer, the second for the stop bath, the third is for the fixer and the fourth is for the wash. Label the trays and always use the same tray for each solution. It is a good idea to get trays at least one size larger than the paper you are using.
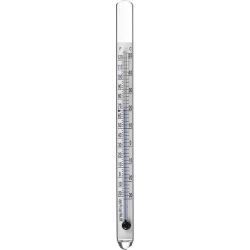
Use it to measure the temperature when mixing and using chemicals. Photographic thermometers are stainless steel or glass, and will not be damaged by the photographic chemicals.
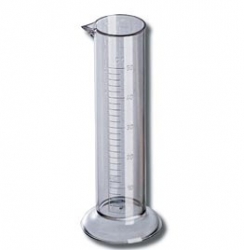
These are used to mix and measure the processing solutions. It is best to have a variety of sizes with at least one with markings at 1oz. or 10ml intervals. Some people have one graduate for each chemical type.
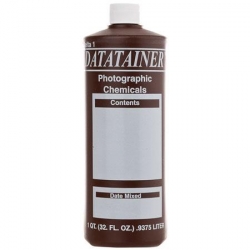
These hold the mixed processing solutions. Bottles can be glass or plastic, and should be opaque brown or black. Make sure the lids are airtight. Label the bottles and always use the same bottle for each solution.
This is how you get solutions back into the bottles. Don't try it without one.
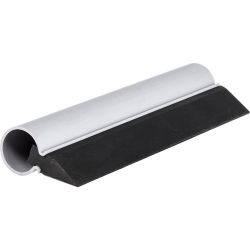
Remove excess water from your prints after they are washed so that they'll dry faster and more evenly.
That takes care of the equipment. All you need now are:
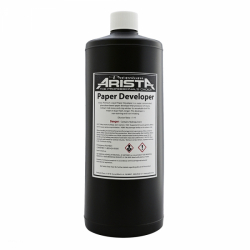
The three basic chemicals are (1) Developer (2) Stop Bath and (3) Fixer. Mix these with the appropriate amount of water and store them in your bottles.
Photographic paper is sensitive to light and should be handled only in a darkroom with the correct safelight. Black and white paper is exposed under an enlarger and processed in chemicals to create a final image.
Still not sure what you need? Below we have a complete supply list for you that includes all the paper, chemicals and accessories you need to get started.
Making prints in the darkroom is truly rewarding. Nothing, not even a "digital darkroom," comes close. The experience is magical, and surprisingly easy. By following a few basic steps, you and your students can soon be on your way to making custom prints.
Here is a recommended list of everything you need to start a darkroom. It is by no means everything available. There is a wide array of papers, chemistry and equipment that will add to your darkroom experience and help you define your own personal style. For example, toning is a great way to take darkroom printing to the next level, and handcoloring and Lith Printing are more ways to add creative options to darkroom printing.
| Enlarger | Beseler Printmaker 35 | 6759 |
| Enlarger Timer | Time-O-Lite Enlarging Timer GR-90 | 2071890 |
| Easel | Arista 4-in-1 Easel | 18511 |
| Safelight | LegacyPro Safelight 5.5x6.5 Red w/ Dimmer | 62012 |
| Printing Tongs | Bamboo Print Tongs | 194369 |
| Processing Trays | 8x10 Set of 4 (red, buff, white, green) | 0120810 |
| Thermometer | 6" Glass Thermometer | 62010 |
| Graduates | 100 ml cylinder | 173502 |
| 650 ml cylinder | 17350 | |
| LegacyPro Graduated Pitcher - 128oz. | 180128 | |
| Storage Bottles | 32 oz. Bottle w/Level Indicator | 013200 |
| 64 oz. Bottle w/Level Indicator | 016400 | |
| Delta Datatainer 1 gallon (128 oz) | 011280 | |
| Funnel | Cinestill Filter Funnel | 800366 |
| Squeegee | 9" Print Squeegee | 9199 |
| Chemicals | ||
|---|---|---|
| Developer | Arista Premium Paper Developer | 6871 |
| Stop Bath | Arista Premium ® Odorless Stop Bath | 6511 |
| Fixer | Arista Premium ® Odorless Rapid Fixer | 6200 |
| Paper | ||
| Start with a glossy "RC" paper at first, but be sure to try other surfaces like pearl/luster and semi-matte, too. Every brand has a variety of surfaces to choose from. | ||
| Glossy | Arista EDU Ultra 8x10/25 Sheets Glossy | 18582 |
| Pearl | Arista EDU Ultra VC RC Glossy 8x10/25 Sheets | 18382 |
| Semi-matte | Arista EDU Ultra VC RC Semi-Matte 8x10/25 Sheets | 18682 |
| Contrast Filters | Ilford MG Filter Set - 3 in. x 3 in. | 137633 |
| You'll also want: | ||
| Paper Safe | Keep unused paper safe from stray light and chemicals. Provides easy access. | 81185 |
| Darkroom Apron | Keep your clothes clean and protected. | 204065 |
| Vue All Archival Safe-T-Binder Black | Store and protect your work. | 1618200 |
| Hypocheck | Is your fixer still fresh? Check it first. | 69801 |
Darkroom Accessories
Thermometers
Graduates & Beakers
Darkroom Accessories
Black and White Chemicals

Enlargers
Bottles & Spigots
Safelights
Darkroom Accessories