Click to enlarge image
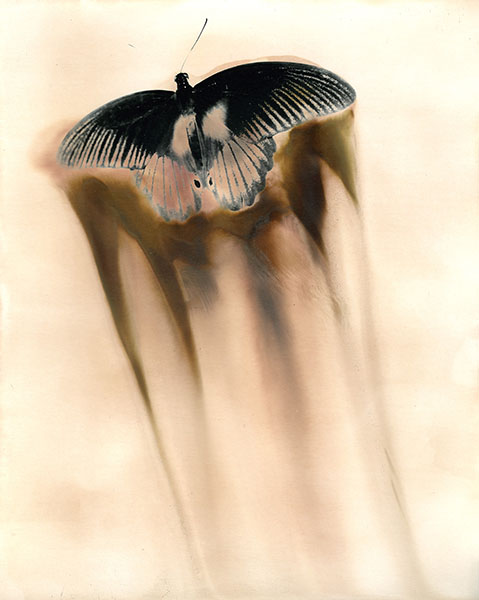
Chromoskedasic is a unique darkroom process that provides fun darkroom experimentation for those who like to put "play" back into the darkroom. In a nutshell, Chromoskedasic Sabatier is a black and white print that has been freshly developed but not yet fixed and is subjected to two mild photographic solutions, an activator and a stabilizer, while under room light. These chemicals in the presence of light will produce deep red-browns, blues, yellows, oranges, greens and even purple. Saying the word "chromoskedasic" is more complex than doing the process, ultimately. It is a perfect process for teaching students to loosen up in the darkroom. However, as with any experimental darkroom process, matching the correct image to meld well with the process is key.
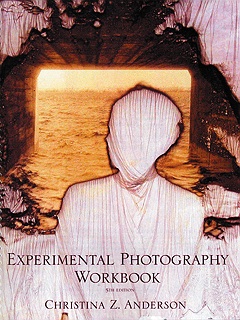
The history of the process starts with Dominic Man-Kit Lam who first wrote about it in Scientific American (November 1991). Another key player in chromoskedasic printing is William Jolly who did major research into the whys and hows of "chromo" (for short) at Berkeley. A Google search will turn up his articles. A third key player, Alan Bean, has made this his signature process for years. His article appeared in View Camera magazine (September/October 1992).This quick and easy method owes much to these three men who spent large amounts of time to come up with good conclusions on how the process works. An extensive description of all chromoskedasic processes can be found in my Experimental Photography Workbook, but for now, this article will be all that you need to get started.
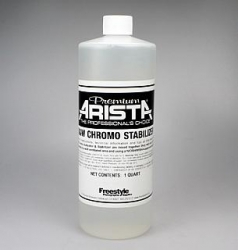
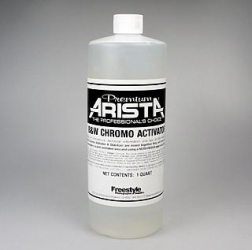
A BW print is normally monochromatic because the silver particles that remain in the print absorb all color and reflect black. In chromoskedasic printing, the silver particles are carefully managed with different chemicals and/or exposure to light, to become different sizes. These different sized silver particles in turn scatter light in different ways to produce the different colors; this is known as the Mie effect. The chemicals used to do this are an acetate buffered thiocyanate "stabilizer" and a diluted potassium hydroxide "activator". The colors only appear where there is white in the print, thus a high contrast print or one that has appreciable areas of white will be best for this process.
Click to enlarge image
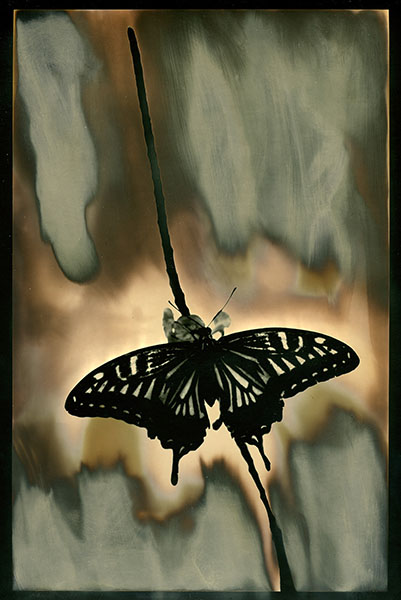
Chromoskedasic chemistry application under room light: bring the print out in the light in a flat bottom tray. It will start to darken and change color, depending on the paper-usually purple. Immediately paint a layer of the 20% stabilizer over the entire print and watch the darker color turn to pale yellow. After a minute or two, then paint on some 20% activator in places where you desire a dark brown shift. It will slowly shift in time, and the amount of each solution you use will determine that-for instance, more activator and less stabilizer on the print, quicker change. If it moves too quickly, paint on some more stabilizer.
If silvering out is desired, paint on working-strength paper developer (or dilute it, if the color moves too fast). Immediately there will be a darkened red-brown effect, followed by a blue, purple, or grey silvering out.
When the print looks the way you want it to, immediately rinse it with water and place the print in stop bath, fix, wash, and then hypoclear as you normally would any black and white print.

Click to enlarge image
Don't rush the process. Enjoy it as you would painting, because it is painting.
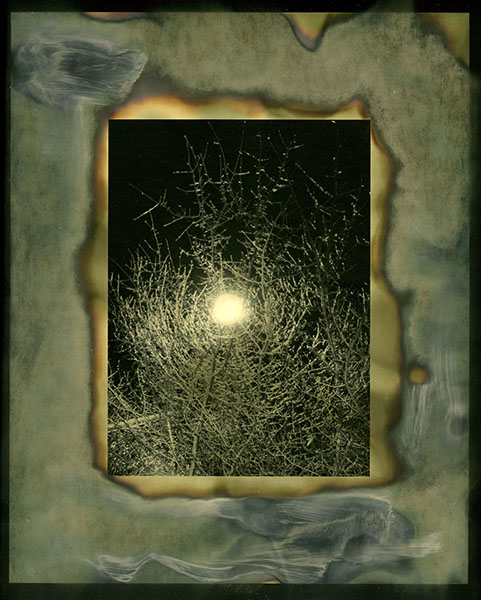
There is a dramatic color shift with some of the colors when the print is fixed as well as when the print is dried. The blues and purples dry down to silver which will fluoresce blue and purple in oblique light. The pinks and reds will dry browner. If you want to preserve these colors as close to as they are, you can use a solution of one part of 5% sodium thiocyanate with five parts of water instead of the usual fix. Agitate in this for about 20 seconds. This tip is from Jolly.
The print will dry down considerably darker. If the print is too dark, it responds nicely to a potassium ferricyanide bleach bath and then fixer. Mix a tablespoon of potassium ferricyanide in a liter of water and bleach just until before it looks light enough as bleaching will continue in the water rinse as well as the fix. Rinse in water until all yellow disappears, and then fix and hypoclear as usual.
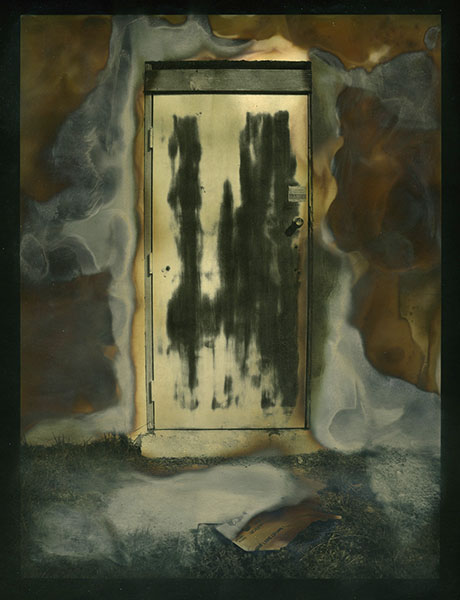
As Jolly has found, the color obtained is related to the pH level of the developer. High pH leans toward the red end of the spectrum and low pH leans toward the blue end of the spectrum. Activator increases the pH.
If color forms too slowly, raise the pH level. If color forms too quickly, reduce the pH levels. However, changing the pH level will affect the spectral quality of the color.
If you mix equal parts of full strength activator, stabilizer and developer and pour it over the print, you will immediately get an intriguing color shift. Activator and stabilizer, when mixed together will produce an annoying ammonia smell, so be prepared.
Click to enlarge image
© Christina Z. Anderson 2009, all rights reserved
Christina Anderson Quick & Easy
Chromoskedasic Sabattier Technique
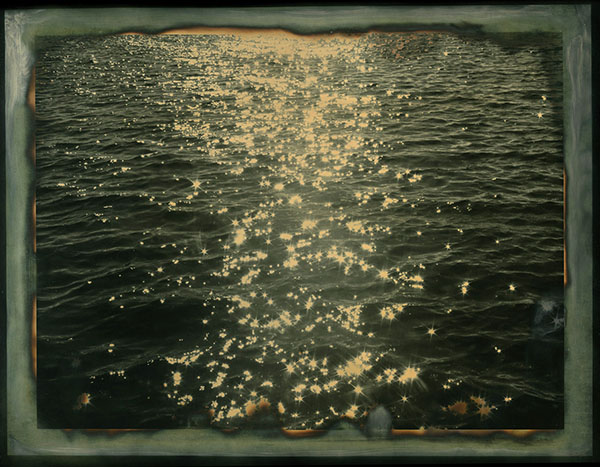
Alan Bean Silverized Chromoskedasic
Sabattier Technique